Tuesday, December 21, 2010

Noahs ark afghan done!

It is ready for Christmas!
Published with Blogger-droid v1.6.5

Sunday, December 19, 2010

Noah is coming along

Slowly but surely
Published with Blogger-droid v1.6.5

Saturday, December 18, 2010

More progress on the Noah's Ark Blanket


I have finished Noah and the Ark. Just need to keep pluggin' away and I can hopefully have it finished soon!

Friday, December 17, 2010

Sock Snowman

Snowman made from socks. No sew!
Published with Blogger-droid v1.6.5

Noah's Ark blanket

I have finished almost the whole ark.
Published with Blogger-droid v1.6.5

Noahs ark blanket

Published with Blogger-droid v1.6.5

Monday, December 13, 2010

Christmas Trees

This is a real simple pattern for a sewn stand up Christmas tree. It makes a great centerpiece or decoration around the house.
Published with Blogger-droid v1.6.5

My sons first patch

This is my sons first patch. A military patch no less. Oh well. It is from the Air Force
Published with Blogger-droid v1.6.5

Noah's Ark afghan

This is the afghan I am making for Calvin.
Published with Blogger-droid v1.6.5

Thursday, July 29, 2010

A nifty site with some nifty things.

Well, I was looking at this website: Gifts for Him and I have already made a wish list for there. I think I spent less then an hour browsing their goods and had to stop because there were too many things that I thought I needed! I may not need it, but I know I want it!

If you need any type of gift, whether it is for your dad, grad, husband, son, or really anyone, I have a link for you! Here it is: Gifts for Dad . It is where to go for neat things. This place reminds me of a place to get the gift for the person who has everything!

Well, if any of you wish to make a new mother's wish come true, here is my wish list!

Wellbox Lipomassage Machine

NuBrilliance™ Microdermabrasion System

Whole Body Scale

Shower Radio

Women's Spa Comfort Robe

I told you I already had quite the wish list! I also would like to share an exclusive coupon code for my followers! The coupon code is: 22SAVE for $10 off any online purchase or $70 or more! What a great deal! I love it!

I must say, as I close, I love this store and I can not wait until I can have some of those things. I would love to just have tons of money right now so I can get it all right now. But I am sure if you are a mother reading this, you understand when I say money is tight! Thank you for reading!

A ton of firsts!

My in laws took my husband, son and me to Oregon. This was Calvin's first time being out of California. He also had his first trip to the beach, first life jacket, first trip to sand dunes and tons more. I had my first bowl of clam chowder and wow! It was so good!

Tuesday, May 18, 2010

My mom's latest update


My mom went to the doctor again today and the breast cancer is located in her right breast. She will be trying to undergo surgery early next week. They will be removing the entire breast and then doing re-constructive surgery to replace the breast. Keep me and my family in your prayers that we can all be strong for her. Please keep my mom Phyllis in your prayers for the strength to over come this and that all will go well. I will keep you all updated on the latest news with her as it comes in. Thank you!

Second Blog

http://annabellscreations.wordpress.com/

8" Doll Dress and Matching Hat


Eight Inch Doll Dress and Hat

By: Violet Crowe

Materials:

Sport Weight Baby Yarn

E/4 3.5 MM Hook

8” Doll

Dress:

Row 1: Chain 32

Row 2: DC in 4th chain from hook. DC in next 2 dc. Work Mini- DC-shell [1 dc, ch 1, 1 dc] in next chain. *dc in next 6 ch, mini-dc-shell in next chain. Repeat from * two MORE times. Dc in last 4 chs; ch 2 and turn.

Row 3: Dc in each st to ch 1 space - work a Mini- DC-shell [1 dc, ch 1, 1 dc] in the ch 1 space. Repeat from * three more times. hdc in each remaining stitch. CH 2, Turn

Row 4: This row forms the sleeves - hdc in each stitch to the chain 1 space; put your yarn over the hook, insert hook in 1st CH 1 space and then fold the dress so you can finish the hdc st through the 2nd CH 1 space - complete the hdc into the ch 1 space. Now Hdc in each stitch to next Ch 1 space; join 3rd and 4th CH 1 spaces in same manner as first two. Hdc in remaining stitches to end. Ch 1, Turn.
Row 5: Sc in each st, ch 1 and turn.
Row 6: 2 sc in each sc across, ch 3 and turn. (This is a good row to change colors if you wish) Join to other side. From now on you will work in rounds omitting the armholes.

Rows 7-10: You will be using a shell st back and forth on each row


SHELL STITCH for SKIRT:
Row 1 of shell: Make 2 dc into the same stitch as the ch 3, skip one st, *sc into next, skip one st and make 3 dc into next. Repeat from * across row.
Rest of shell: 2 dc in lst sc. *1 sc in the center dc of the next shell, make 1 shell of 3 dc in next sc. * Rep the sts between (*) across the row. End with 1 sc. Ch 3, turn.

Hat:

Rnd 1: Ch 4, and join to form a ring. Ch 3, (counts as a dc) then make 14 dc inside ring. Join with a slip stitch in top of 1st actual dc of previous rnd (not the ch 3).

Rnd 2: Ch 3, dc into the base of the Ch 3. * 1 dc in next dc, 2 dc in next dc, Repeat from * around making sure to dc into the base of the ch 3. Join with a slip stitch in top of 1st dc of previous rnd.

Rnd 3: same as the 2nd

Rnds 4 & 5: Ch 3 and make a dc in the same stitch, then dc in each dc around including into base of ch3 of the previous row, joining with a sl st in the top of the 1st dc of the round you just finished..

Row 6: DecDC (Decrease Double Crochet) in each stitch. Join to beginning and fasten off.

Weave in all ends. I closed the back of the dress with ties that are just tied in bows because they are for dolls not babies.

A breast cancer awareness hooded scarf I made


This is not a free pattern. I got it from Think Pink Crochet for the Cure pattern book. If you would like the pattern or are looking for the book, I can always give more information about it.

As of lately....

As of Friday May, 15, 2010, I found out that my birth mother has breast and ovarian cancer. I am very worried and scared over this because I have not known her my whole life.

I was adopted when I was 7 years old. I was 18 when I first met my birth mother and it was not a pleasant experience because I went to visit with a closed mind. I was not ready to learn about myself at that time. Now, I am a wife and mother and I have a very open mind as to my roots. I want to know for my son that way I can tell him about his mom and his other family members. I would also like to be able to tell him about his family history.

If you are reading this, please know and understand that not only do I need your prayers to stay strong for my son and family, but my birth mom needs your prayers too.

Wednesday, May 12, 2010

Dime Coaster


Ok, I used an I hook and ww yarn in grey. Here's how:

Ch 4 join with ss

  1. Ch 2; 6 hdc in loop; join with ss
  2. Ch 2; 2 hdc in each st; join with ss
  3. Ch 2; 2 hdc in each st; join with ss
  4. Ch 2; 1 hdc in each st; join with ss
  5. Ch 2; 1 hdc in each st; join and fasten off.
To make it have the "appearance" of a dime, I backstitched in white the torch from the back of the dime and the words "One Dime".

Crochet Wallet Coaster Holder


With color of your choice and an H hook, ch 35 (I used Peaches & Cream in a green and white verrigated).

Row 1: Sc in second ch from hook and across; ch 2 turn
Row 2: HDC in each st across; ch 1 turn
Row 3: Sc in each st across; ch 2 turn
Row 4-25: Repeat rows 2 and 3

Fold "wallet" in half and single crochet the left and right sides together. Turn wallet inside out and tada!

Embellish as you wish :)

Penny Coaster


Ok, my dollars needed some change to go with it so I made a penny!

I used brown ww yarn and an H hook.

Round 1: Ch 4 join with ss to first ch

Round 2: Ch 3 and do 11 dc in loop join with ss to first dc; ch 3

Round 3-4: 2 dc in each st join with ss to ch 3

Round 5: 1 dc in each st; join with ss; ch 1

Round 6: 1 sc in each st join with ss and fasten off.

On right side, I backstitched in white a "monument" that is on the back of the penny.

Felt Rich Man's Coasters


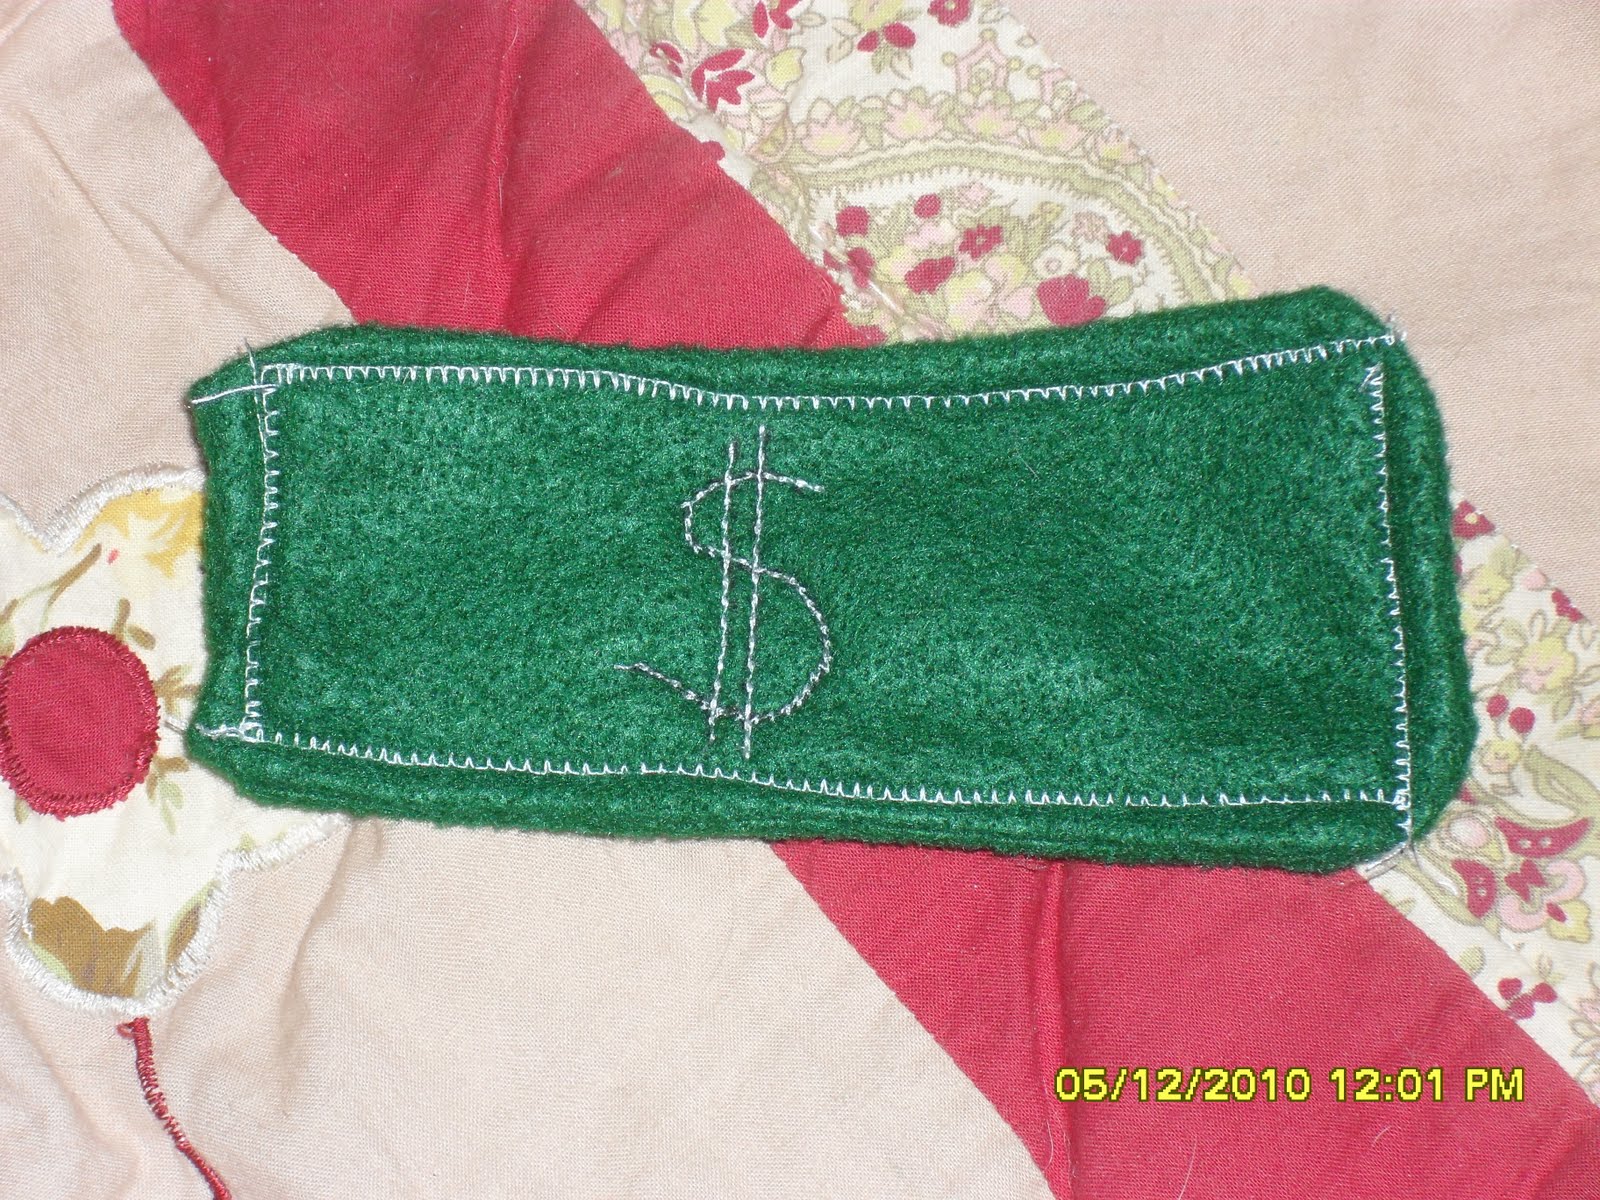
Ok, I thought I would make a set of coasters that used the sewing machine because I have tons of felt and I was wondering what to do with it all. So, here is one project. I will try to get the construction too.

For the "Dollars": Trace a real dollar bill on to felt. Cut 8 pieces that are the same size of the dollar. Take 2 pieces of the felt, sew along 3 sides of the dollar. Turn right side and fold over opening and stitch. Then draw a "$" in the middle of the dollar and with a thick stitch go over it in white thread. There is your dollar! I made 4 dollars.

For the "Wallet": I traced the shape of the dollars with extra room. I also did it on a fold. I used brown felt. I then folded my top edges and sewed them so I don't have rough edges. I then sewed along both sides of the wallet. Then turned it right side. You can put the dollars in the wallet.

Dollars measure 14 1/2 cm x 6 cm
Wallet measures 15 1/2 cm x 8 cm

Rich Man's Coasters


I made these after a joke my mother in law made. I was making a flip flop coaster and started posting pictures of them. But there was money in the picture. My mother in law asked if I was crocheting money, so I said, "Nope but give me a sec!"

Here is the Pattern:

I used an "I" Hook. I also used some Peaches & Cream cotton that I have.
Light green and Eggshell are the colors I used.
I also used an "F" Hook.

Oh, here is what I did:

Row 1: Chain 24; Sc in second chain from hook and all the way across. (23 stitches) Chain 1 and turn
Row 2: Sc across; Ch 1 turn
*Repeat row 2 until you have 10 total rows*

Fasten off after that.

Attach next color (I attached it into a corner) with a slip stitch. If done in a corner add 2 sc in the same st. Sc all the way across until you have 2 rows of sc for border.

For the Dollar Sign.

With "F" hook, chain 25 for the "S" part. Fasten off. Chain 12 for the "I" part. Fasten off (make 2). Position the pieces on the "dollar" to look like this $ only with two lines.

If you have questions, email me at annabells.creations@gmail.com

Tuesday, January 19, 2010

Crocheted Baby Things Part One


I make tons of things for baby. They make great baby shower gifts or gifts to welcome a new baby. When ordering please specify the color, size and when you need it by.
The item description and pricing is as follows:
  1. Frog Stuffed Animal (as pictured it is not intended for children under 3 years of age): This is a frog stuffed animal. Kids love stuffed animals and if you have a child who loves frogs, this makes the perfect gift! This can be made with eyes that are sewn with yarn or embroydery thread instead of having actual eyes. This change will make it safe for children under 3 years of age. Price: $10
  2. Dog Stuffed Animal (as pictured it is safe for children under 3 years of age): This can be made according to age and color. Price: $10
  3. Crib Size "V-Stitch" Blanket: Colors can be customized to match any gender or nursery. Price: $10
  4. Caterpiller Stuffed Toy (as pictured it is safe for children under 3 years of age): This can be made according to age and color. Price: $10
  5. Baby Beanie: Colors can be customized. Price: $5


Monday, January 18, 2010

Monday, January 18, 2010

Hello and welcome. I am new to the whole blogging thing, but here is my first shot at it. I am working on some hats and scarve sets along with baby hats and wash cloths for a box I am sending to an organization. I hope that I am able to to get it all finished fairly quick. I guess as long as I am missing my pattern for the hat, it will take awhile LOL! I am making the wash cloths right now, and I will be posting pictures of them as soon as they are finished. I hope you enjoy my blog and stop by often to see the new things.